- Open Android Studio 2.2.3, Click Help -> Check For Updates.

2.If new version of Android Studio is available, the following outcome will display:
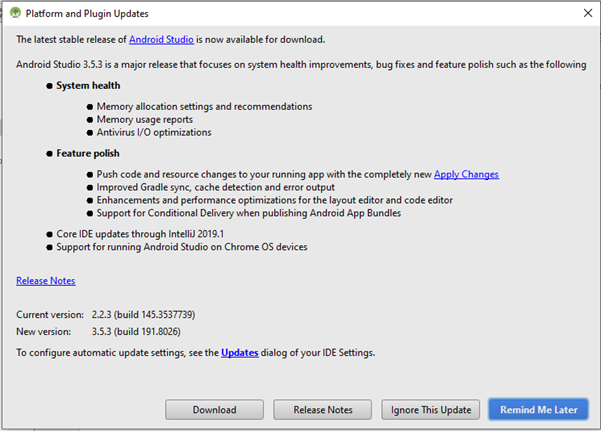
Here, new version of Android Studio is available. So, I am going to upgrade to new version. Keep reading my blog to update your android version successfully.
3. Now, We need to download the new version of Android Studio 3.5.3. Click “Download” button, it will automatically take you to the new version of Android Studio. Now, you need to download a new version.
4. Check you download folder. A new version of Android Studio with extension .exe should be there. Double click to upgrade
5. A message will appear, and asked you to uninstall the old version. Click Next.
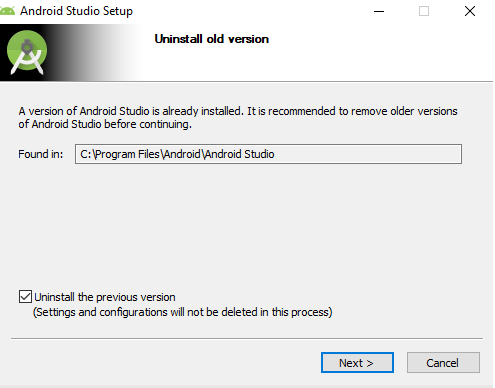
When you click “Next”. Another message appear
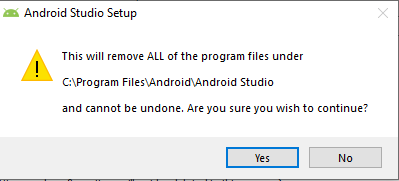
Don’t worry. You can click “Yes”. This won’t delete your project. Only the program files will updates and your projects remain unchanged.
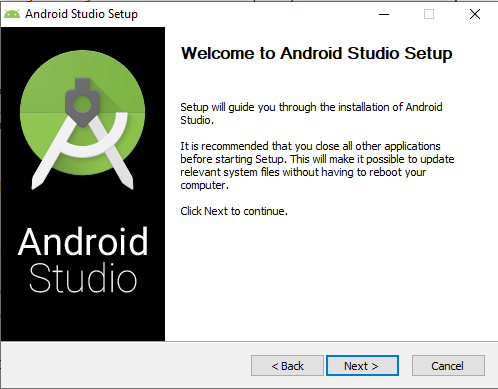
6. Click Next Again.
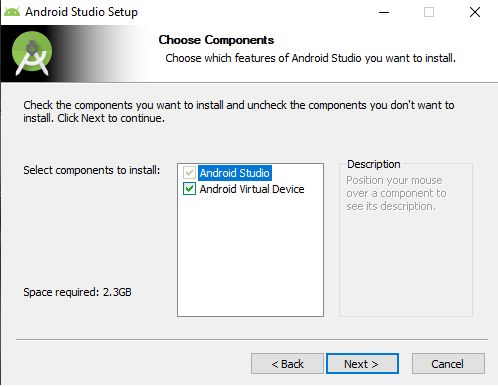
7. Check or uncheck “Android Virtual Device”. It’s up to you. I leave it as is it. Because, I need “Android Virtual Device” and click Next.
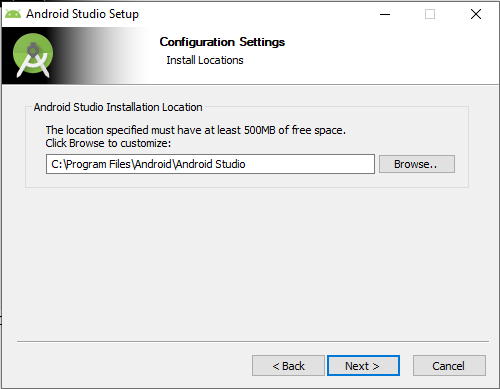
8. Configuration Setting. Click Next.
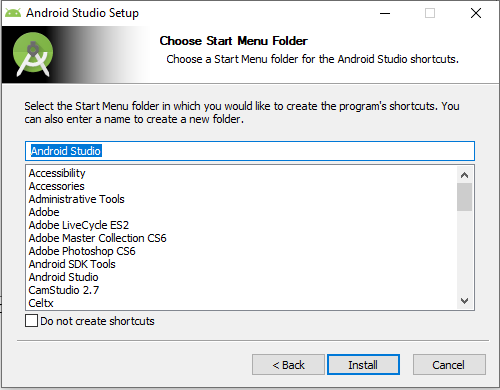
Choose Start Menu Folder and Click Install.
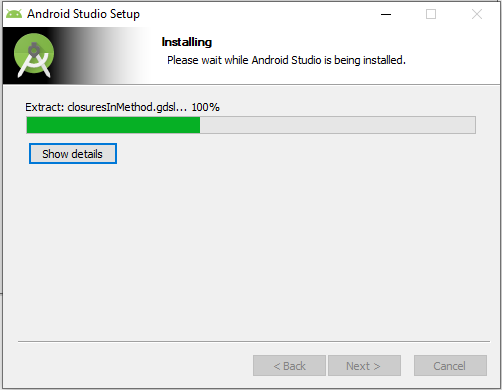
10. Wait until Android Studio Setup is being installed.
11. Installation Complete. Click Next.
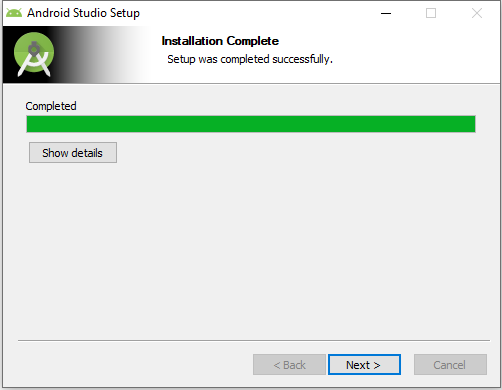
12. Android Studio had been installed in your Computer. Now click Finish to close Setup.
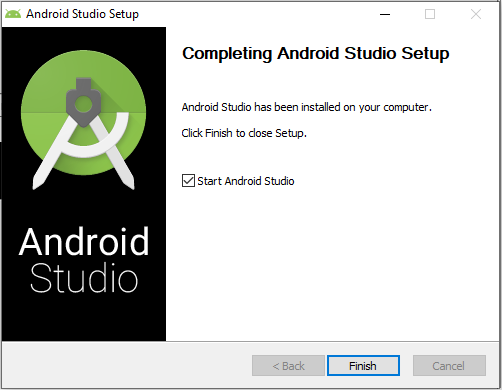
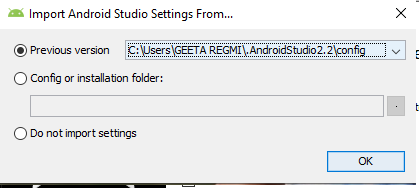
13. Import Android Studio Setting From Previous Version
14. Delete Unused Android Studio Directories
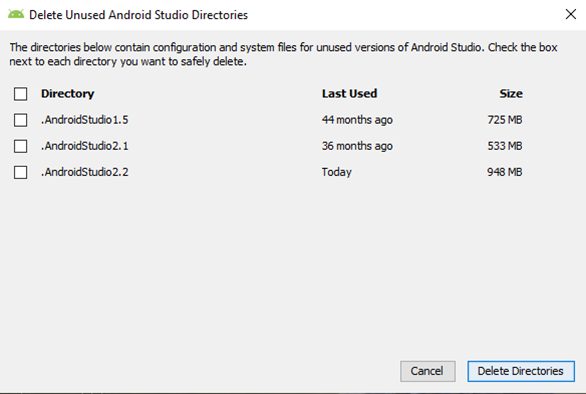
Here, I delete .AndroidStudio 1.5 and .AndroidStudio2.1. It depends on your Android Studio Previous settings.
15. After this, new version of Android Studio is automatically open with your current project.

That’s it. Congratulation! You have successfully update you Android Studio from old version to new version. Now, explore the new version of Android Studio 3.5.3

