If you face the above error message while working on your first android app, the solution is very simple. You just need to add one simple line code in your project AndroidManifest.xml
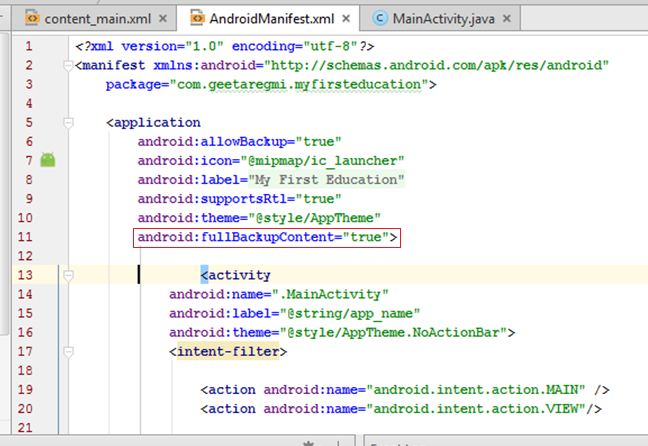
android:fullBackupContent="true"
The final AndroidManifest.xml file looks like below:
Now re-built your project and see the error message.
Isn’t it too simple? If you know a little bit of coding then it will be so easy to fix the problem otherwise it might take you several days to fix it.
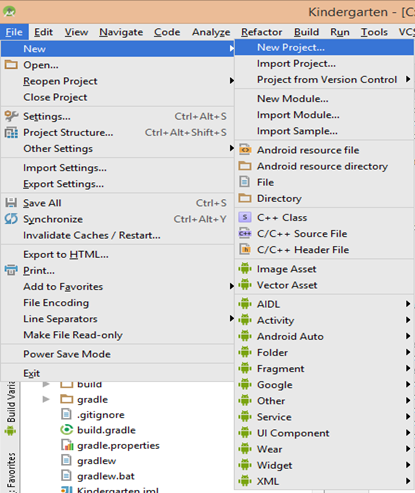
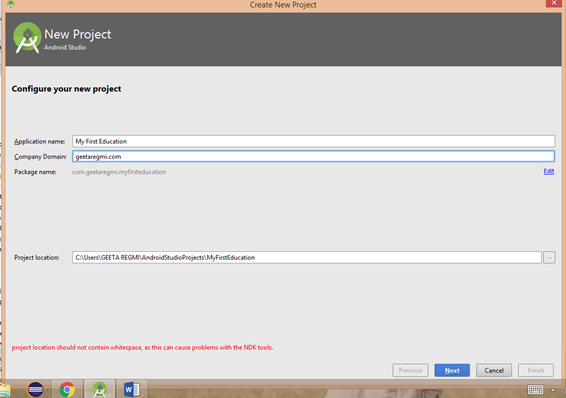
3. Fill the required filled like below: You can give your own app name, company domain and package name. And also specify a project location where you want to have your projects.
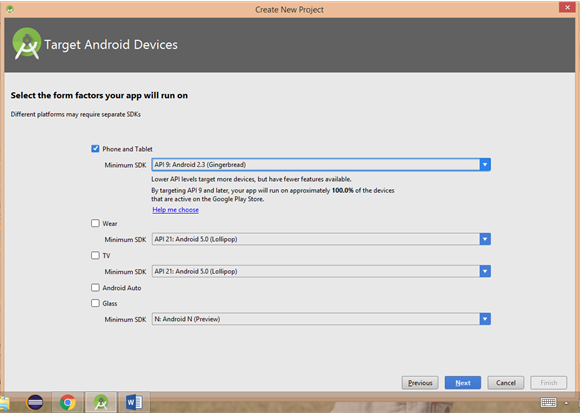
4. After you filled up all required text field, click Next. It will take you to next screen, where you need to choose your Phone and Tablet Minimum SDK. Here, I choose API level 9 and Click Next.
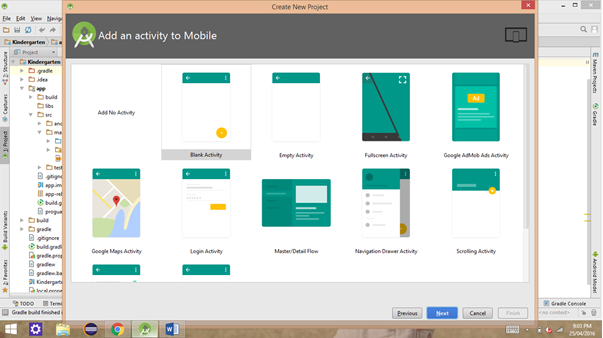
5. Here I choose “Blank Activity” to start my project from the scratch. You can choose any activity you like to start your project.
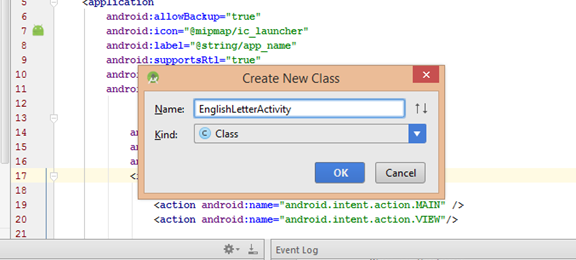
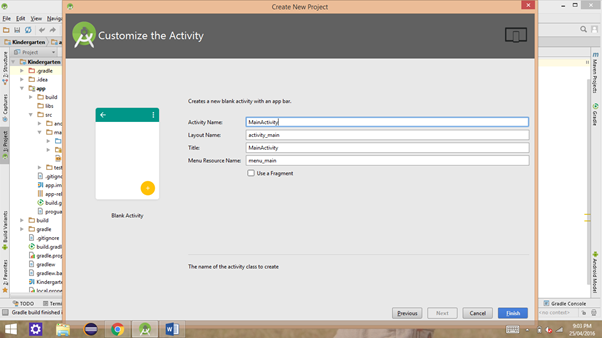
6. Click Next after you choose you activity. Now you will go to the next screen, where you can write your own activity Name or leave as it as system Android Studio generated.
7. Click Finish. You have successfully create your first android studio start up project. Now start coding.