Definition:
You may be wondering, is it possible to put text over an image and positioned it like a top left corner, top right corner, center, bottom left corner, and bottom right corner?
Let me tell you. Yes, it is possible to put text over an image and position it according to your design.
First, create a container and position as relative. Now, you can position your text at absolute top left corner to show your text at the top left corner.
See the below example, how I position text into different locations over an image.
Text at Top Left Corner:
Source Code:
<!DOCTYPE html>
<html>
  <head>
    <style>
      .image1 {
        opacity: 0.5;
        padding: 10px;

      }

      .container {
         position: relative;
      }

     .top-left {
        position: absolute;
        top: 2px;
        left: 20px;
        font-size: 14px;
	  }

    </style>
  </head>

  <body>
    <table style="border: 2px solid grey;">
      <tr>
        <th>Text over an Image in the top left corner</th>
      </tr>

      <td class = "container">
          <img src="https://www.elsebazaar.com/blog/wp-content/uploads/2019/03/About-Us-image.jpg" alt="Image Opacity" class="image1" width="95%" height="100%">
         <p class="top-left">
           Text at Top left Corner
        </p>
      </td>


    </table>
  </body>
</html>
Output:
Text at Top Right Corner:
Source Code:
<!DOCTYPE html>
<html>
  <head>
    <style>
      .image1 {
        opacity: 0.5;
        padding: 10px;

      }

      .container {
         position: relative;
      }

     .top-right {
        position: absolute;
        top: 0px;
        right: 20px;
        font-size: 14px;
	  }

    </style>
  </head>

  <body>
    <table style="border: 2px solid grey;">
      <tr>
        <th>Text over an Image in the top right corner</th>
      </tr>

      <td class = "container">
          <img src="https://www.elsebazaar.com/blog/wp-content/uploads/2019/03/About-Us-image.jpg" alt="Image Opacity" class="image1" width="95%" height="100%">
         <p class="top-right">
           Text at Top right Corner
        </p>
      </td>


    </table>
  </body>
</html>
Output:
Text at the center of the Image
To create a text at the center of an image. First, create a container with a relative position and center a text absolute position on the top: 50% and left 50%.
See a below example.
Source Code:
<!DOCTYPE html>
<html>
  <head>
    <style>
      img {
        opacity: 0.5;
        width: 100%;
        height: auto;

      }

      .container {
         position: relative;
      }

     .center {
        position: absolute;
        top: 50%;
        left: 50%;
        transform: translate(-50%, -50%); /*reposition an element in the horizontal and vertical position*/
        font-size: 14px;
	  }

    </style>
  </head>

  <body>
      <h3 class="title">Text over an Image at the center</h3>
      <div class = "container">
          <img src="https://www.elsebazaar.com/blog/wp-content/uploads/2019/03/About-Us-image.jpg" alt="Text at center of the image">

        <p class="center">
           Text at Center of the image
        </p>
      </div>

  </body>
</html>
Output:
Text at the bottom left corner
See an source code of creating a text at the bottom left corner. Here, you apply bottom values like you have applied in the top left corner’s top values.
Source Code:
<!DOCTYPE html>
<html>
  <head>
    <style>
      .image1 {
        opacity: 0.5;
        padding: 10px;

      }

      .container {
         position: relative;
      }

     .bottom-left {
        position: absolute;
        bottom: 0px;
        left: 20px;
        font-size: 14px;
	  }

    </style>
  </head>

  <body>
    <table style="border: 2px solid grey;">
      <tr>
        <th>Text over an Image atthe bottom left corner</th>
      </tr>

      <td class = "container">
          <img src="https://www.elsebazaar.com/blog/wp-content/uploads/2019/03/About-Us-image.jpg" alt="CSS Text at Bottom left Corner" class="image1" width="95%" height="100%">
         <p class="bottom-left">
           Text at Bottom left Corner
        </p>
      </td>
    </table>
  </body>
</html>
Output:
Text at the bottom right corner
To make your text at bottom right corner, change your absolute text position into bottom: 0 and right:0. See a source code for details:
Source Code:
<!DOCTYPE html>
<html>
  <head>
    <style>
      .image1 {
        opacity: 0.5;
        padding: 10px;

      }

      .container {
         position: relative;
      }

     .bottom-right {
        position: absolute;
        bottom: 0px;
        right: 20px;
        font-size: 14px;
	  }

    </style>
  </head>

  <body>
    <table style="border: 2px solid grey;">
      <tr>
        <th>Text over an Image at the bottom right corner</th>
      </tr>

      <td class = "container">
          <img src="https://www.elsebazaar.com/blog/wp-content/uploads/2019/03/About-Us-image.jpg" alt="CSS Text at Bottom right Corner" class="image1" width="95%" height="100%">
         <p class="bottom-right">
           Text at Bottom right Corner
        </p>
      </td>
    </table>
  </body>
</html>
Output:
Donate to support writers.
You may be interested in the following topics:
- CSS Image Overlay Zoom
- CSS Image Overlay Icon
- CSS Image Overlay Title
- CSS Image Filters
- CSS Flip an Images
- CSS Image Hover Overlay Slide from the right
- CSS Image Hover Overlay Slide from the left
- CSS Image Hover Overlay Slide from the bottom
- CSS Image Hover Overlay Slide from the top
- CSS Image Hover Overlay Fade In A Box
- CSS Image Hover Overlay Fade In Text
- CSS Image Hover Overlay
- CSS Text Over an Image
- CSS Transparent Images
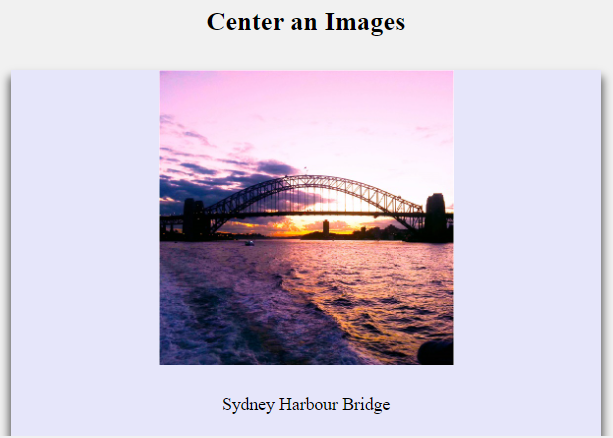
- CSS Center an Images
- CSS Card Images
- CSS Responsive Images
- CSS Thumbnail Images
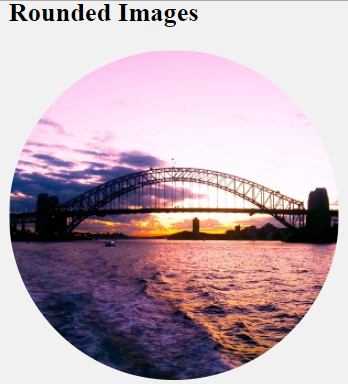
- CSS Rounded Images
- CSS Images (All Properties)